
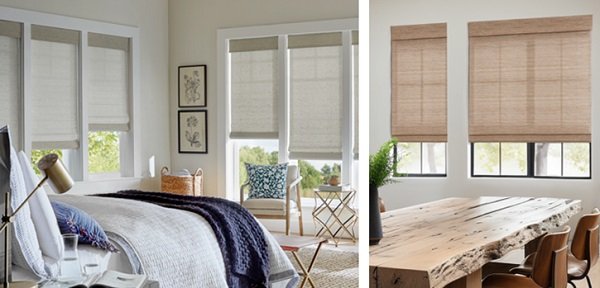
There’s something about the natural beauty of woven wood shades. They’re instantly calming. Maybe it’s the earthy texture, the natural materials, or the way light filters through just enough to feel cozy without feeling closed in. That alone should help get you in the right headspace for your installation. Breathe deep. Installing your natural shades will be a lot easier than you might think.
We’ll walk you through how to hang your woven wood shades step-by-step. Let’s get those windows looking as grounded and gorgeous as the shades themselves. If you get stuck at any point during your install, our team of design experts would love to help. No need to worry, though, as most (over 99%!) of our customers install their own window coverings because it’s so easy.
![]()
How To Install Your New Natural Woven Shades
Step 1. Check Your Box
Start by carefully unboxing your natural woven shades. Double-check the size and color to make sure everything matches your order. Also, inspect the weave and headrail to check for any damage that may have occurred during shipped. You’ll also want to locate the hardware, brackets, and installation instructions before getting started.

Step 2. Prepare Your Tools
To properly install your woven wood shades, you’ll need a few basic tools:
- • Metal Tape Measure
- • Screwdriver
- • Power Drill + Drill Bits
- • Pencil
- • Level
- • Drywall Anchors (if you are drywall mounting)
- • Stepladder (if area is hard to reach)

Step 3. Install Your Brackets
On natural shades, your brackets will align with the slots notched in the wooden headrail. To mark where your brackets go, hold your shade up to the window and make a pencil mark through each notch. You can also use a metal tape measure to mark bracket placement by measuring the distance on the headrail and marking that same measurement on your window frame. We recommend predrilling the holes at your marks for a breezier installation. Once prepped, align the brackets and screw them into place using the hardware provided.

Step 4. Install Your Shades
With your brackets in place, align the notches in the headrail with the long piece hanging from each bracket. Screw the wingnuts on over the extended piece keep your shade in place. Tighten until secure.

Finishing Up
Once your shade is hanging on its own, give it a quick test. Raise and lower your shade slowly to ensure smooth operation. Stop the shade in the middle of the window to check for proper tension. Finally, give yourself a high five. You did it!
![]()
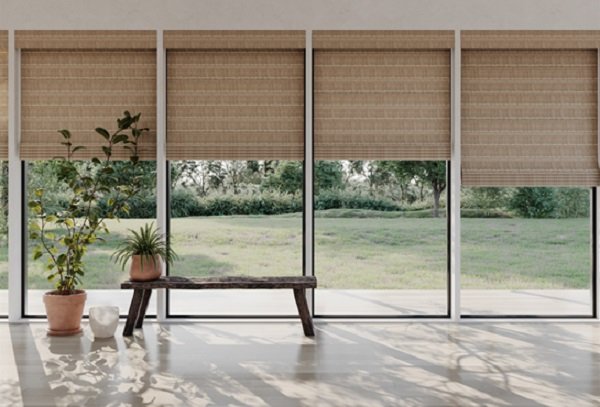
What a journey. Your new woven wood shades are up and your home just got a serious style upgrade. Whether you’re reveling in the texture or enjoying how the light gently filters through them, your room will now feel a little more grounded, a little more peaceful, and a whole lot more you. Congrats!

FIND NEW WOVEN WOODS