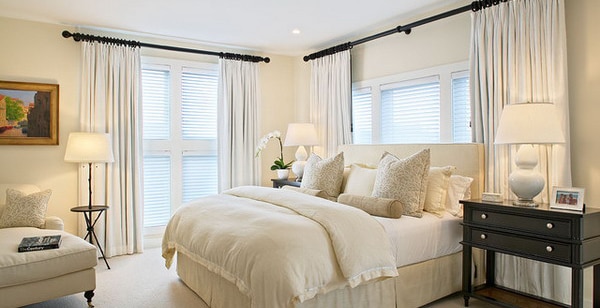
Drapery is so appealing when styling your windows as the entire wall comes alive with interest. Don’t shy away from designing with drapery – so many fun elements can add flair and drama to enhance your home, from ceiling to floor. Just one window treatment has the ability to add softness, warmth, and light control. With so many minute details to consider, you can create a unique space that could never be duplicated.
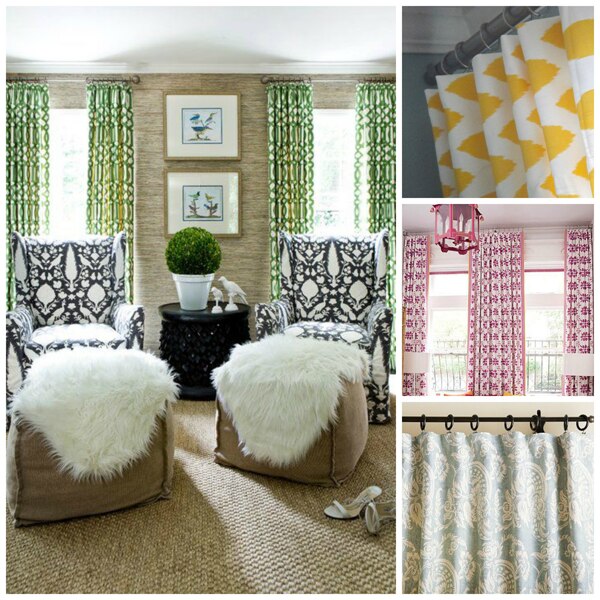
1. Drapery Hardware
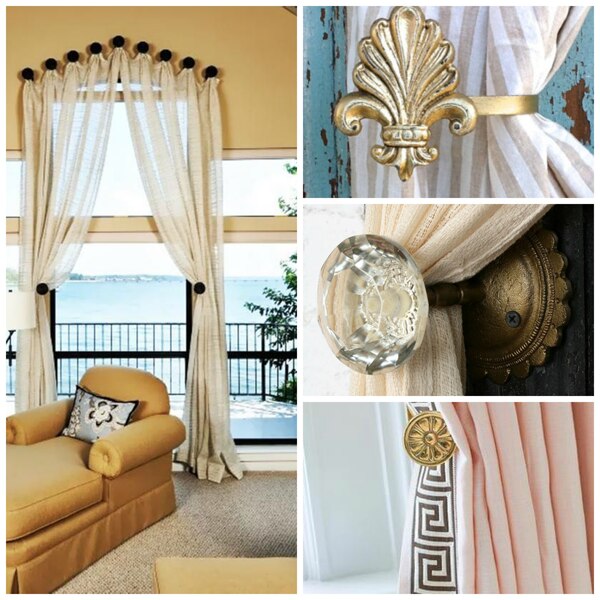
Starting from the top, drapery hardware includes all fixtures that support the fabric. Rods are the most important components to this accessory because they hold your drapery up above the window. Hardware must be firmly attached to the ceiling or wall to ensure the weight of the drapery won’t cause any bending or breaking. Classic, return, and track rods can be used in any setting depending on how you decide to style your drapery. Mounting applications can either be completely hidden or totally visible.
Classic Rods
Classic rods can be simple, allowing bold drapery to make a statement, or decoratively contributing to the style of the room. Brackets attach the rod to the wall, allowing you to open and close panels at your leisure. Ornamental end caps add extra dazzle to your décor.
Return Rods
Panels wrap around the curved side of return rods, which is best for blocking out light. Adjustable U-shaped rods screw directly into the wall, making this a sturdy option for heavier fabrics.

Track Rods
Drapery glides effortlessly while hanging on hooks attached to pulleys inside the track. Rods can be installed into the wall or on the ceiling, completely concealing any hardware. Floating effortlessly, this mounting option is great for patterned drapery that may clash with visible rods.
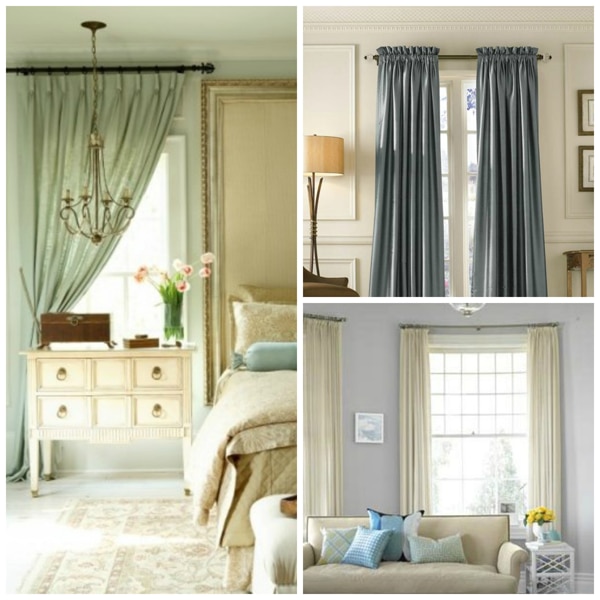
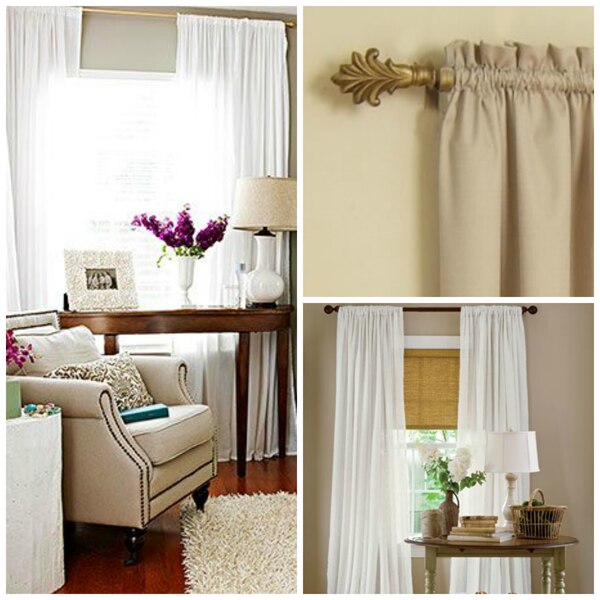
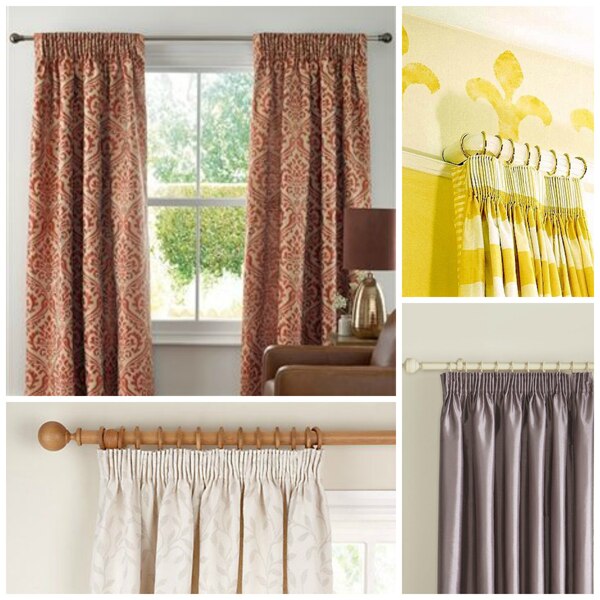
Drapery Headings
Defining the overall look of the drapery, the top hem is also known as the heading. Hooks, grommets, tab tops, and rod-pockets are all top borders that determine formality and play a part in functionality. Some headings are easier to maneuver and others allow more light in. Consider whether you are going for an elegant or casual look before you decide how you want your drapery to hang.
Hooks
Traditional and simple to maneuver, this basic heading attaches to the rod via rings. When drawn back, the rings at the top make the fabric bend forward. Less sag occurs when the rings are closer together.
Rod-Pockets
A breeze to install, this window treatment has a pocket stitched at the top for a rod to slide through. Ideal for a casual environment, the drape remains on the rod and will not experience any billowing.
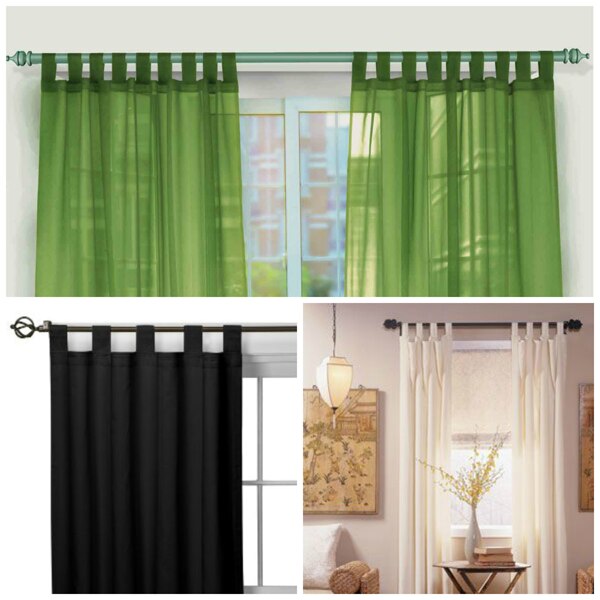
Tab Tops
Casual and airy, tab tops look great embellished or left simple. Series of tabs along the top of the drapery panel easily slip onto any rod of your choice.
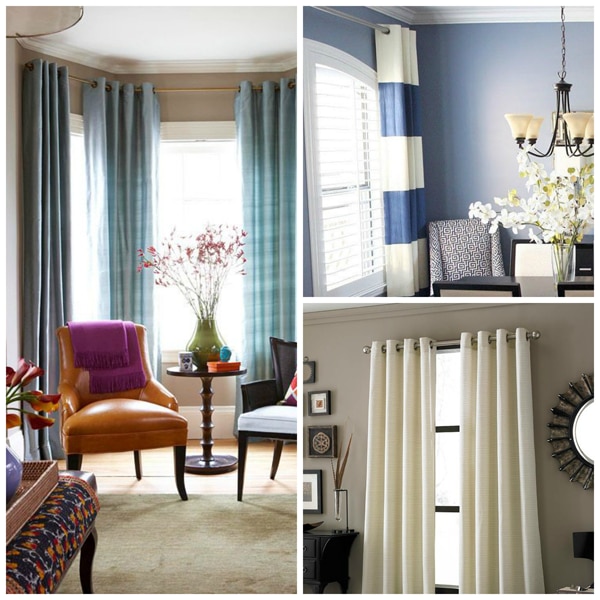
Grommets
Medium to large grommets are evenly set apart to weave through a rod. Brass or chrome hardware should match other metal finishes in the room. Grommets are an innovative heading system, adaptable from traditional to contemporary settings.
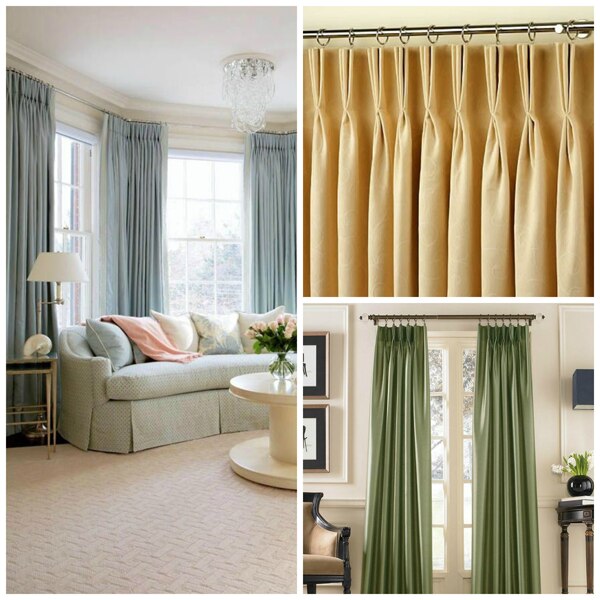
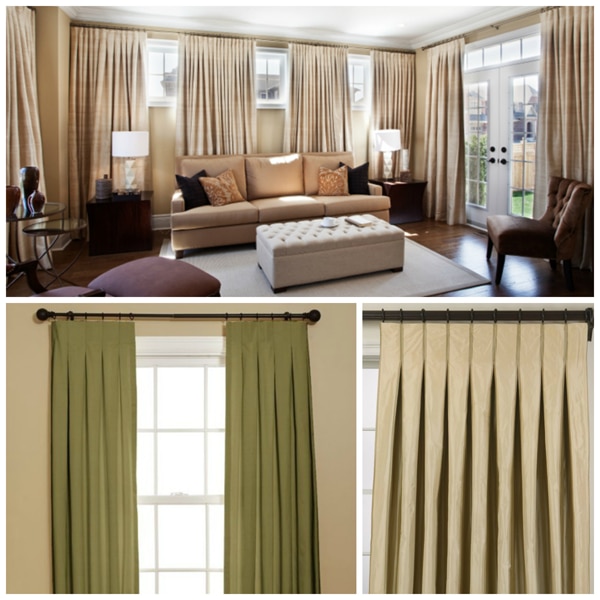
Pleats
Pleats are a style that consist of folds in fabric which are held together by stitching. Topping off your choice of drapery, this heading style determines fullness in the length of your fabric. Far older than most would expect, pleating fabric began many centuries ago. Timeless and chic, pinch, pencil, box, and goblet pleats convey an ageless feeling that can be translated into many decor styles.
Pinch Pleats
Pinch pleats are a traditional drapery heading. Three folds on each pleat at the top create a delicate look. For fullness, place the pleats closer together.
Pencil Pleats
Comparatively softer, the pencil pleat has evenly spaced single clumps of fabric. Uniformly tailored, this structured look goes well in both formal and casual settings.
Box Pleats
Box pleats are good for large window openings, as they lie flat at the top allowing fullness at the bottom. Commonly used in theatrical settings, a dramatic effect can be achieved with this style.
Goblet Pleats
The Goblet Pleat gets its name from the shape of each pleat, resembling a medieval cup. Cones of fabric are formed and slightly pinched together. More pleats on the panel will create an opulent look.
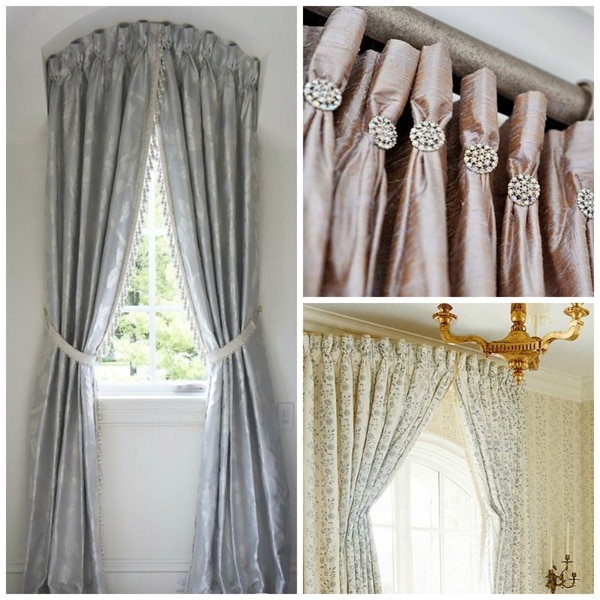
Tiebacks, Tassels, and Trims
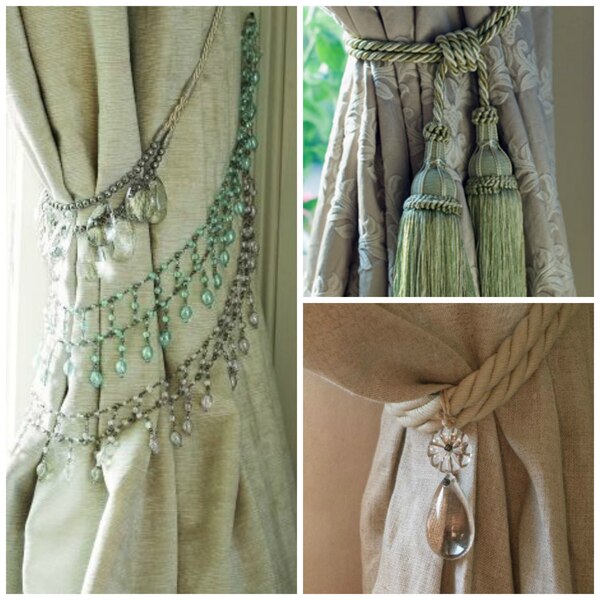
Embellishing your drapery is a step that adds character to your window. If simply drawing your drapes back on the rod does not interest you, consider tiebacks – they are like jewelry to your windows! Holding your drapery open to let in light and creating a pretty frame around the window, tiebacks are a beautiful yet functional addition. Consisting of loosely hanging threads, cords, or other knotted material, tassels are one popular tieback option. Lining the edges with lace, braids, beads, and more, trim is an additional option to decorate the edges of your drapery with contrasting pieces of material.
Tiebacks and Tassels
Tiebacks allow you to personalize your home while also offering functionality. Drawing back carefully designed drapes to let in the warm, inviting sunlight will become the peak of your morning routine.
Two-thirds of the way down from the top of the window mount a curved bracket or peg. Directly place drapery behind the hardware, or use the mounting as leverage for tiebacks. From simple fabric to ropes with tassels, this is a great place to further dress up your window. Tassels add extra pizzazz to your drapery and can consist of braids, single pieces of fabric, metal, threads, or cords. Matching all visible accouterments is necessary for completing the look.
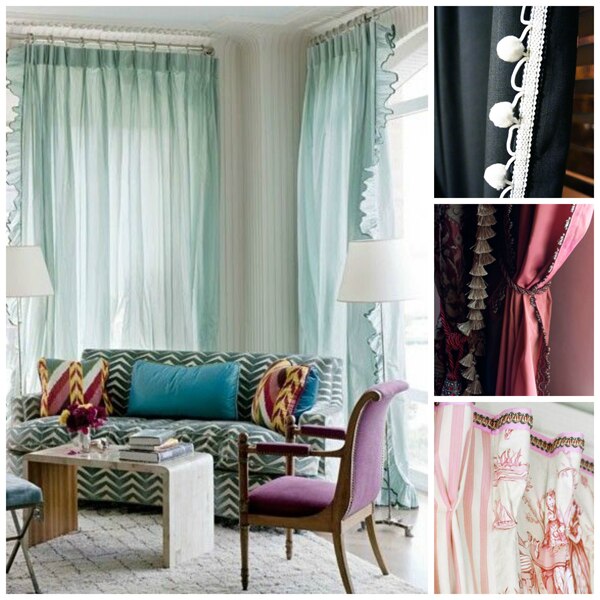
Trims
Fancy trim is another way to upgrade the look of your drapery panels. Dressing up the hem without adding too much visual stimulation is what makes trim so appealing. Ruffled edges are soft and feminine, while pops of poms add an unexpected accent of detail.
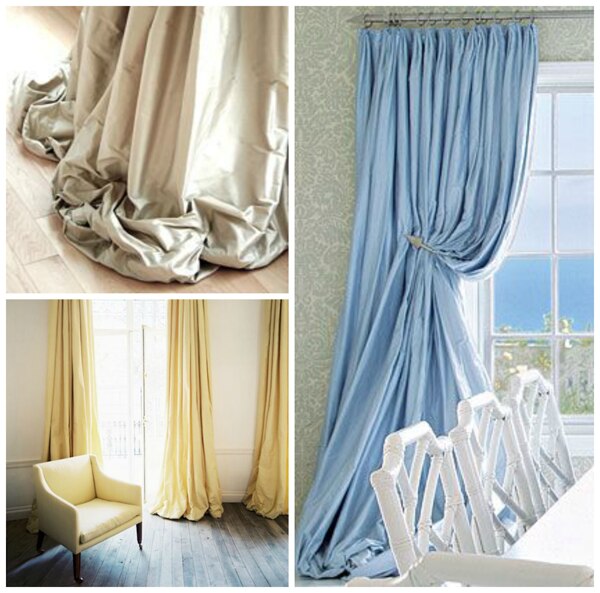
Bottom Styling
Bottom styling should never be ignored – it ties together all of the other drapery details you have carefully chosen. Traditional, trouser, and puddled drapery come in various lengths from stopping before the material reaches the floor, to delicately falling several inches onto the ground. Choose fabric height based on the feel you want to convey in your room.
Traditional Lengths
A traditional approach to length is when the drapes stop just before the floor. Classic and clean, this style is also functional because it won’t pick up filth on the floor or get caught on anything while being drawn back.

Trouser Breaks
Today, the trouser break is the most popular style, slightly gathering on the floor. Add an extra 2-3 inches in length to drapery to achieve this look. From opulent to classic interior design, choose drapery in this length for versatility.

Puddled Bottoms
Puddling draperies 6-8 extra inches, allowing fabric to spill over onto the floor is best for formal environments. Only decorative panels should be puddled, as constantly drawing them back and forth will pick up dirt.
You can see that drapery offers the chance to select many details to bring your windows to life! I strongly believe that the smallest elements add up to make a great design. Style your windows around this concept and your entire room will be glowing!