
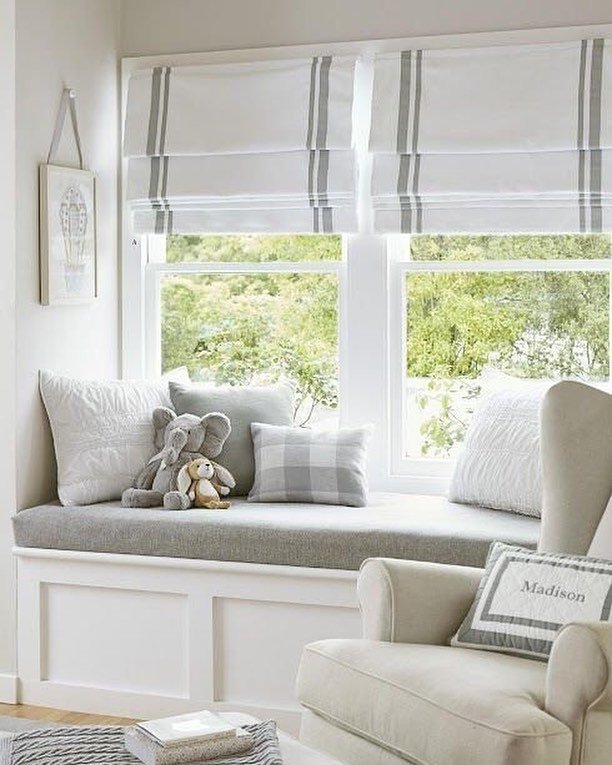
Roman shades exude elegance. They give you the soft, stylish feel of drapery with the crisp structure of a custom shade. With custom fabrics, insulating options, and sleek styles like flat or teardrop folds, it’s no wonder Roman shades are a favorite for designers and DIYers alike. That, and they’re pretty simple to install.
Whether you’ve gone cordless, motorized, top-down bottom-up, or classic roman shades, this guide will walk you through every step of installing your Roman shades like a pro. If you have any questions, you can always reach out to our design experts for anything from measuring to design advice. Installing new roman shades is easier than you may think. In fact, over 99% of our customers chose to do it themselves.
![]()
Step-By-Step Guide to Installing Your Roman Shades
Step 1. Check Your Box
Unbox with care! Open the packaging to confirm that your roman shade is the correct size and style. Also, make sure nothing looks like it has been damaged or broken during shipping. Double check that you’ve received all the included hardware, mounting brackets, and installation instructions. Depending on your product, there might be extra padding or wrapping, so don’t be afraid to dig through the box to find everything.

Step 2. Prepare Your Tools
All you will need a are a few basic tools to install your custom roman shades.
- • Steel Tape Measure
- • Screwdriver
- • Power Drill with Bits
- • Pencil
- • Level
- • Drywall Anchors (for mounting into drywall)
- • Stepladder (if area is hard to reach)

Step 3. Install Your Brackets
For roman shades, your brackets will hang through the slots notched in your wooden headrail. To mark your bracket position, hold your shade up to the window and make a pencil mark through each notch. You can also mark bracket placement by using a tape measure to measure the distance on your headrail and measuring the same distance in your window frame. Ensure your brackets look evenly placed. It’s a good idea to predrill holes through those marks to make things easier. Once the holes are ready, screw the brackets into place securely using the hardware provided.

Step 4. Install Your Shades
Align the headrail of your roman shade with the brackets. The longer part of each bracket should extend through the headrail. When you see the extended piece, screw on the wingnuts to secure your headrail in place. Don’t be afraid to tighten each wingnut. The top fold of your shade will hide all of the hardware.

Finishing Up
We recommend testing your shade, raising it lowering it slowly to ensure even movement. Stop the shade halfway down the window and check for proper tension. If everything is working properly, congratulations! You have successfully installed your roman shades.
![]()
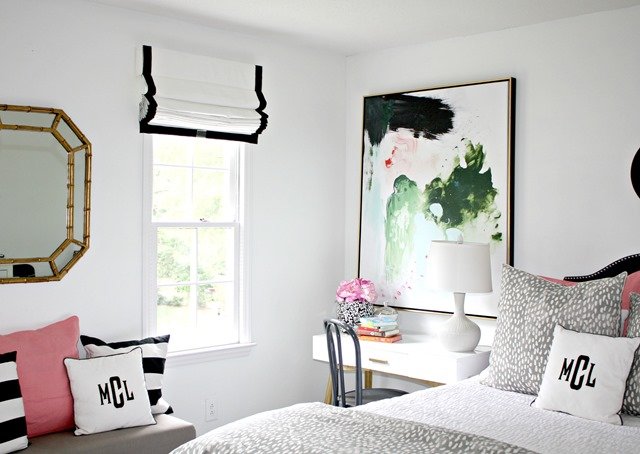
Whether you went bold with a pattern or soft and neutral with texture, your new roman shade will add both function and flair to your space. Feel free to give yourself a standing ovation. We bet your windows look beautiful.

![]()