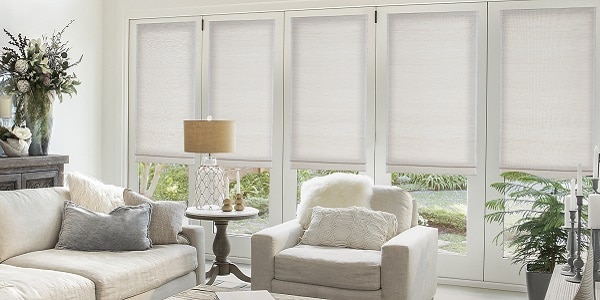
Installation, the final frontier. By now you’ve received your custom woven shades and are eagerly anticipating hanging them up. You can’t wait. We can’t wait. Your windows can’t wait. Let’s get started! All you’ll need are a few basic tools, your hardware kit (included with your shade), and some DIY determination. Lucky for you, installing woven wood shades is easy and can be accomplished four simple steps. Don’t forget, you can always visit our install page for helpful step-by-step instructions for every product.
@blindsgalore Tuesday with Tony, our Customer Care Specialist. Let’s learn how to install a woven wood shade from Blindsgalore. #DoItYourself #windowtreatments #wovenwoods #InstallShades #HowToInstallShades ♬ Cheeky – Albert Posis & Patrick Hizon
Step One
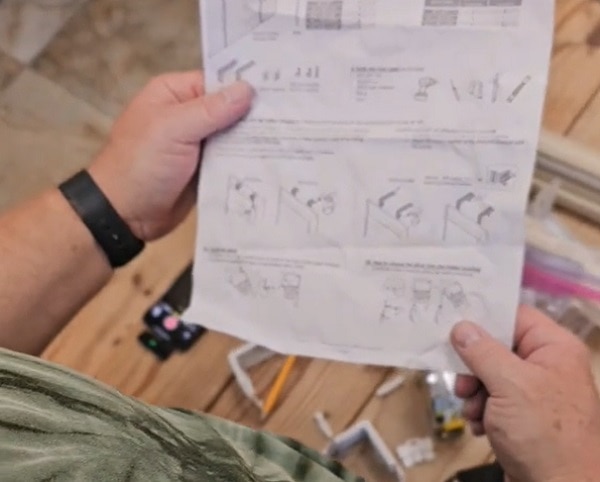
Find Your Hardware & Install Guide
First things first, check your box to make sure you have what you need to get install your woven wood shades. Take everything out of the box, including the hardware and installation instructions. These little pieces are essential for a successful installation. Ditch the Styrofoam and make sure your woven wood shade looks exactly like you were expecting. Contact us immediately regarding any damage or defects.
Step Two
Prepare Your Tools
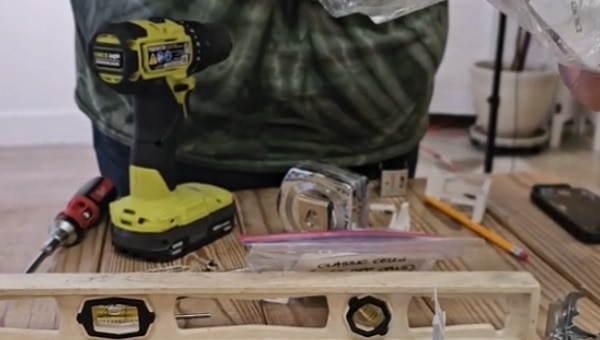
Bust out the toolbox. For most installations, all you will need is a steel measuring tape, a power drill with a screwdriver bit or 1/4″ nut driver bit, a level, and a pencil. Pretty basic stuff. Be sure to check for studs if you are using an outside mount. If you can’t find a stud, you’ll need to use drywall anchors before securing your brackets. You may also need a step ladder for taller, hard-to-reach windows.
Tool List
• Metal Tape Measure
• Screwdriver
• Power Drill with Bits
• Pencil
• Level
• Drywall Anchors
• Step Ladder
Step Three
Install Brackets
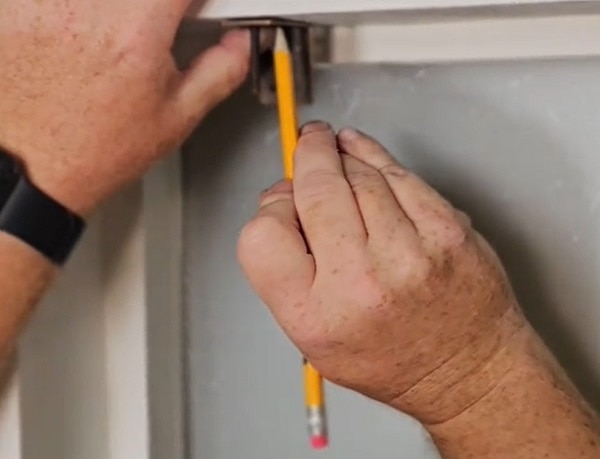
Depending on your woven wood shade, your installation guide will provide recommendations for spacing your brackets. Generally, you’ll want to space 2-3 brackets evenly along the headrail. One bracket on either side, with a slight gap from the end, and one in the middle (for larger areas). Place the brackets up to your wall or window and mark the screw holes with a pencil. Finally, pre-drill small holes on each mark before fully securing your brackets.
Step Four
Install Woven Wood Shades
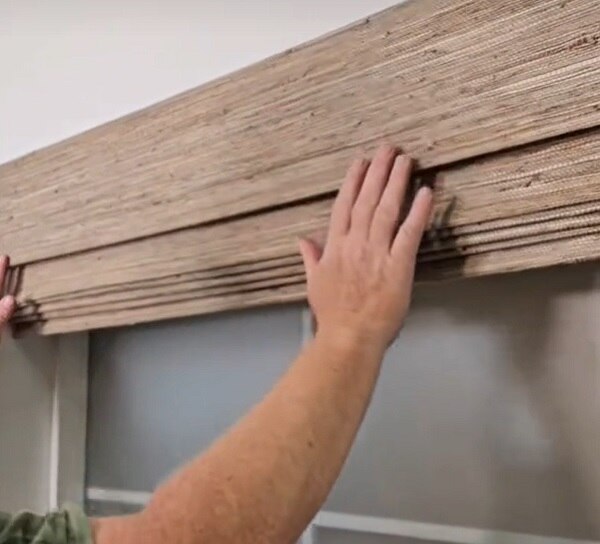
Once your brackets are installed, it’s time to hang the shade. For natural and woven wood shades, your brackets should align with the notches at the top of the headrail. Align the headrail with the brackets and screw on the wingnuts on the bolts that poke through the headrail. Tighten until secure. That’s it! Feel free to test your shade by gently raising and lowering it into position.
![]()
 |
Our team of experts are here for you. Call 1 (877) 702-5463 customercare@blindsgalore.com Mon 6am – 7pm PST Tue-Fri 6am – 6pm PST Sat-Sun 8am – 4:30pm PST |
![]()
![]()

