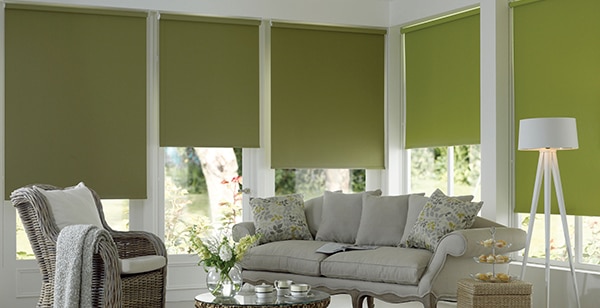
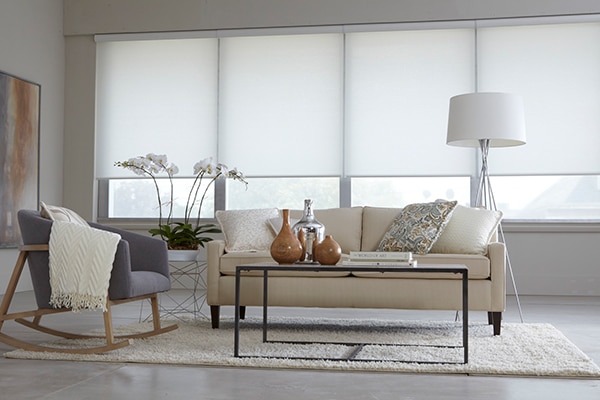
Popular for their versatility and simplicity, Roller Shades can be customized to meet and match the style requirements of any room. These shades are easy to operate, especially with a motorized lift. Rollers are available in a variety of solid colors or eye-catching patterns, and they can even filter or block out light – they do it all! The minimalist appearance of Roller Shades has also made them a designer favorite, but before they liven up your décor, they have to be hung properly. Not to worry, as I’m here to show you exactly how to hang your new Roller Shades in three easy steps.
I’ll be walking you through a simple install of both inside and outside mounted Roller Shades. While the exact instructions may be different for your product, this guide will give you a frame of reference for a generic installation. Don’t forget, you can find the specific instructions for your brand of Roller Shade on the installation page of our Help Center. Also, depending on your lift system, you may have specific right/left brackets. These brackets are not interchangeable, so I recommending referring to the manual included with your product for proper positioning.
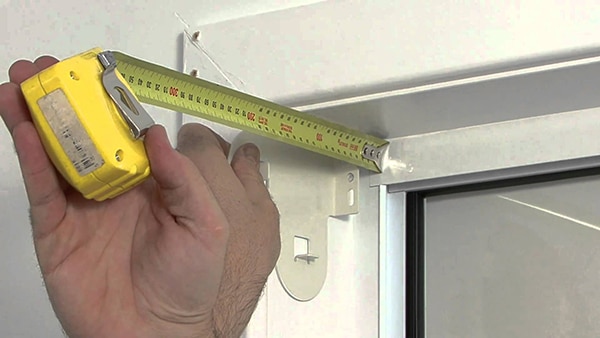
Before we get started make sure you have a steel tape measure, a drill, drill bits, a screwdriver, and a pencil handy.
Hanging Roller Shades – Inside Mount
Step 1. Placing Brackets
Included with your product will be two brackets that hold the shade in place on your window. Mark the location, with pencil, on the inside of your window where these brackets will be mounted. Be careful to leave about 1/4″ between the brackets and the back and the top of the window frame, to ensure the shade will have enough room to roll up. If you have an extra set of hands, you can hold the shade in position between the brackets and roll it up/down to make sure everything is in place.
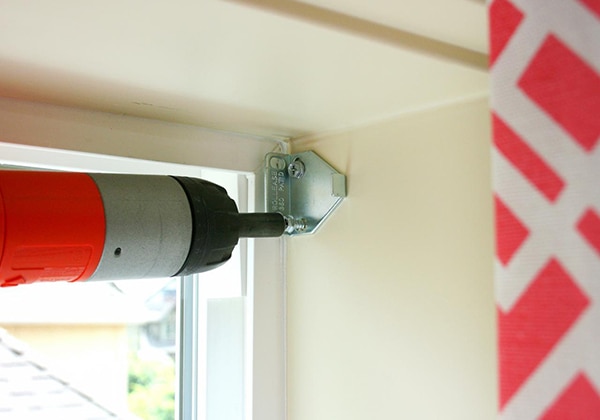
Step 2. Mounting Brackets
Once you are sure of your placement, mount the brackets to the wall. It will help to pre-drill the holes in each bracket by using your pencil markings, or the actual brackets as a guide. Once the holes have been made, use the included fasteners to mount each bracket to the inside of your window frame with a screwdriver.
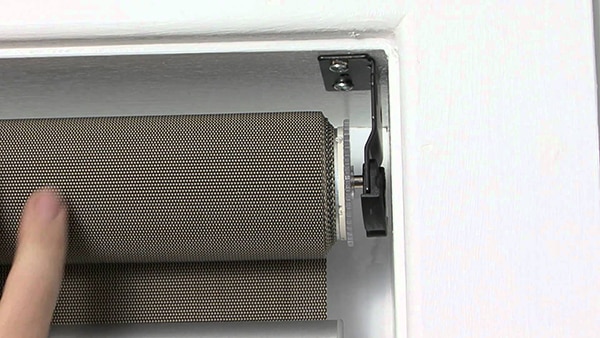
Step 3. Hang Your Roller Shade
Once your brackets have been mounted in the correct position, the only thing left to do is to insert your Roller Shade. On one side of your shade you’ll find a retractable plunger, usually opposite of the lift controls, which should be inserted first. If you have a cordless shade, inspect both ends carefully to find this piece. After this side is in place, match the groove on the other side of your shade to the holes in the mounting bracket. Everything should click into place and you should be able to move the shade up/down without obstruction.
Hanging Roller Shades – Outside Mount

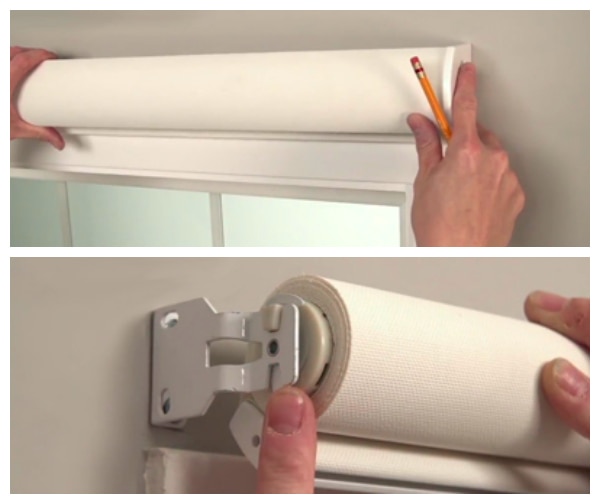
Step 1. Placing Brackets
Remove your Roller Shade from its packaging and hold it above your window in the position where you would like it to be placed. Then, take the two brackets included with your product and mark their location, in pencil, on either end of the shade. Please make sure the brackets are level and equally spaced, as that is required for smooth, even operation and proper light blockage.

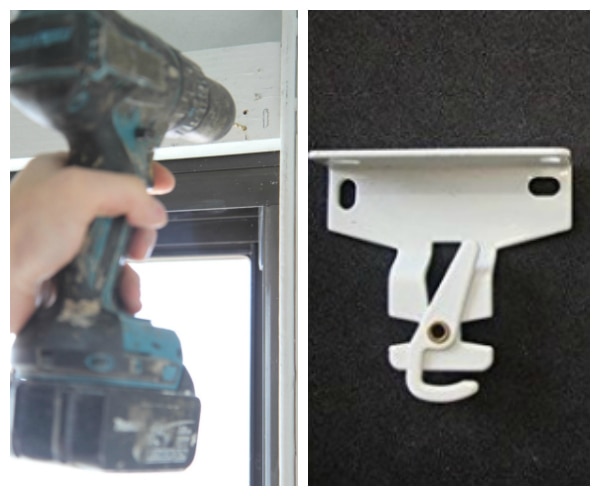
Step 2. Mounting Brackets
Once you are sure of your bracket placement, you can mount them to the wall. Using the brackets or your pencil markings as a guide, carefully pre-drill the holes above your window. Brackets will usually require two screws to mount, and I advise you to use the proper fasteners depending on the surface your Roller is placed.
Step 3. Hang Your Roller Shade
After your brackets have been properly secured, you’re ready to snap your Roller Shade into place. Each end of your Roller Shade is designed to fit into the correct bracket. Find the side of your shade with a retractable plunger and insert that end first. The other end should be lined up with the grooves in your shade for a perfect fit. Once the shade is in place, roll it up/down to ensure everything is working perfectly.
Voila! That’s all it takes. See? There was nothing to be worried about. Roller Shades are almost as easy to hang as they are to operate. You already did most of the work by determining what type of mount you were using when you ordered the product. If you were able to handle measuring for your Roller Shades, installation should be a walk in the park. These contemporary, minimalist shades are quickly growing in popularity and it’s easy to see why. If you’re just getting started, you can get a more comprehensive look at Roller Shades, including which style of mount would be best for your window, by reading my Roller Reminders blog post. Over 99% of Blindsgalore customers do their own installation and now you can, too!

Learn how to measure your windows for roller shades with this helpful video.