There’s no reason to stress installing faux woods. They’re one of the easiest types of blinds to install and will have you feeling like a DIY pro. All it takes is a few tools and four short steps. Check out the video below! If you have any questions while installing your new faux woods, feel free to reach out to our design experts for assistance. You’ve got this! Over 99% of our customers install their own window coverings because we make it easy.
![]()
Install Faux Wood Blinds in Minutes
Step 1. Check Your Box
First things first, carefully open the packaging. Ensure your faux wood blind is the correct size and color. It may take a few layers of bubble wrap and Styrofoam to uncover. You’ll also want to make sure the hardware and installation instructions are included.

Step 2. Prepare Your Tools
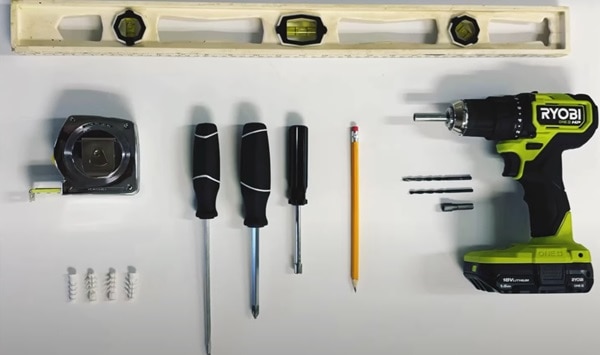
To install your faux wood blind, you will need:
– Metal tape measure
– Screwdriver
– Power drill with drill bits
– Pencil
– Level
– Drywall anchors (if mounting into drywall instead of a stud)
– Stepladder (for hard to reach areas)

Step 3. Install Your Brackets
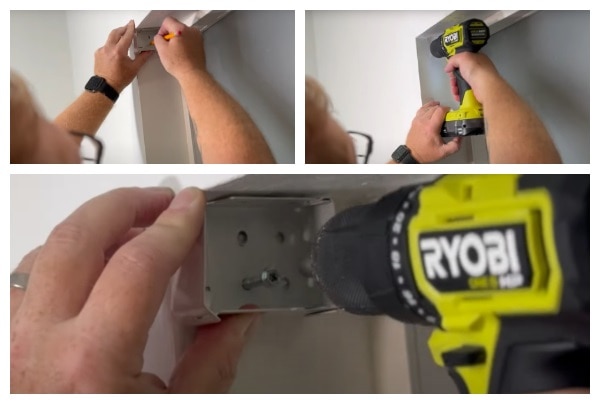
Position your mounting brackets so they are flush and level with the top corners of your window frame. Ensure your brackets are evenly spaced. When you’re happy with the placement, mark each screw hole with a pencil against the wall. We recommend predrilling the holes on these pencil marks. Finally, move the brackets back into position and install them using the screws provided.

Step 4. Install Your Blinds
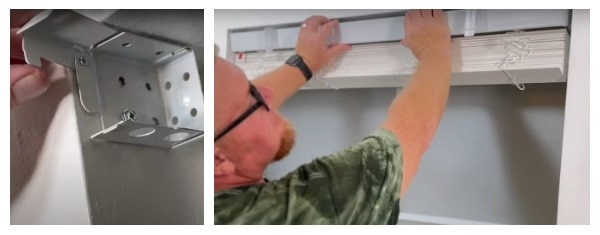
If you have any valance clips, attach them to the headrail before installing. Ensure the bracket covers on your mounted brackets are open. If the covers are open, slide the headrail in-between the brackets and push it back into place. Finally, close the bracket covers and ensure your faux wood blind is secure. Attach the remaining tilt wand and attach the valance to the clips. Raise and lower the blind slowly to ensure it functions properly.

Finishing Up
While testing your blind, try to ensure even movement between each slat. We also recommend testing for proper tension by stopping the blind in the middle of the window. Don’t forget to test the tilt wand, either! Tilt it up! Tilt it down! Any direction you want – they’re your blinds, now! Congratulations.
![]()
Known for the durability and timeless appeal, faux wood blinds are an excellent choice for any window in your home. They’re the most popular window covering for a reason. Don’t forget to customize your look with paints, stains, and even real-looking grains if you’re seeking a more classic look. You can even upgrade your faux wood blinds to include a motorized lift or pair them with your smart home for complete control without getting out of bed.

![]()


