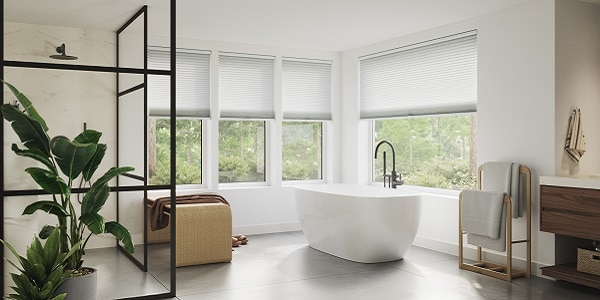
Installing Cellular Shades is a cinch. If you can follow a few simple steps, your windows will be upgraded and insulated in no time. At Blindsgalore, we believe anyone can achieve DIY greatness and anyone can install custom blinds and shades. In fact, 99% of our customers measure and install cellular shades (and every other type of window treatment) themselves. All it takes are some basic tools and a few minutes. If you have any questions during your install, don’t hesitate to reach out to our design experts or view our install page for helpful guides for every product.
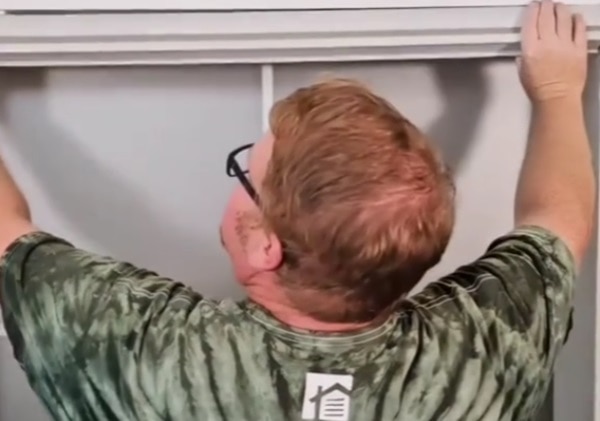
@blindsgalore One of our most popular window treatments. Let’s install a cellular shade with Tony, our Customer Care Expert. . . . . #CellularShades #InstallWindowBlinds #InstallWindowShades #WindowTreatments ♬ original sound – Blindsgalore
Step One
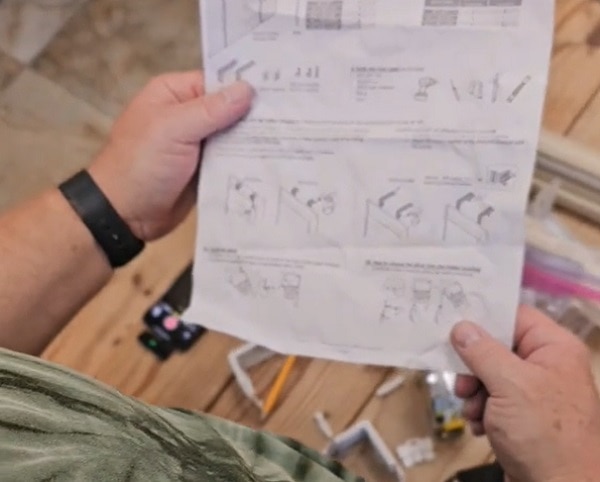
Find Hardware & Install Guide
Before you get started, check the box. Besides the shade, you’ll need a few things to ensure a smooth install. That includes the small hardware box, which has your mounting brackets and screws inside, and your installation instructions. You should also check to ensure your shade is in good shape, it’s the right color, and the right size. Contact our Design Experts right away if you notice any damage or defects. After that, you can ditch the box.
Step Two
Prepare Your Tools
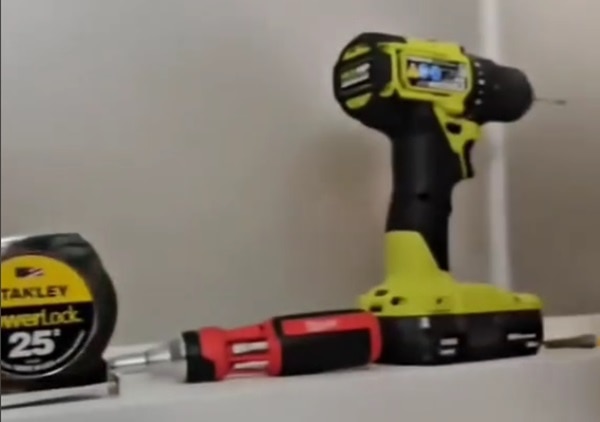
Gather your courage and crack open that toolbox. You’re not going to need anything too fancy for this job. Remember, installing Cellular Shades is easy. You’ll need a metal tape measure, a power drill with a screwdriver bit (Phillips head with a star top) or 1/4″ nut driver bit, as well as a pencil. A level will also help make sure you’re mounting your shade evenly if you’re doing an outside mount. You’ll also need drywall anchors for an outside mount, if you’re not drilling directly into a stud. Don’t forget a step ladder if your windows are hard to reach!
Recommended Tools
• Metal Tape Measure
• Screwdriver
• Power Drill + Bits
• Pencil
• Step Ladder
• Drywall Anchors
• Level
Step Three
Install Your Brackets
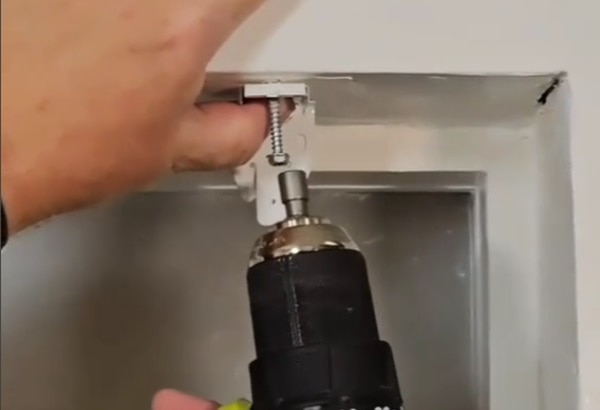
Let’s get to work. Your brackets hold your Cellular Shade in place, so it’s crucial to make sure they are secure and even. Fortunately, Cellular Shades are very light so it doesn’t take much to keep them sturdy. We recommend spacing your brackets about three inches in from either side of your window (specifically for an inside mount). Larger windows may include an extra bracket for the middle of your shade. Mark your bracket placement with a pencil and then pre-drill small holes through the markings. When you have prepared each location, screw in the brackets using the hardware provided.
Step Four
Install Cellular Shades
Once the brackets are in place, grab your shade and put it into position. The headrail should snap into the mounting brackets fairly easily. If you’re having trouble, try to align the brackets with the front of the shade first before rocking the headrail back into position. You should hear a satisfying “click” when it is attached. Gently test the shade by raising and lowering it to make sure everything works as expected. Don’t forget to brag to your friends and family that you did it all yourself!

![]()

