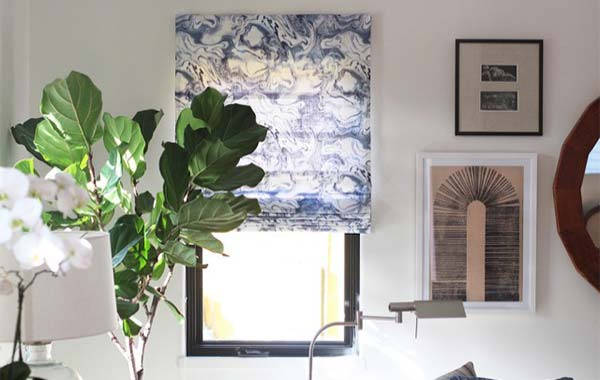
Making your own roman shades can be a fun project for us DIYers. If you are feeling adventuresome and bold, roman shades can be made in one day, depending on the number of windows, with only a few pricked fingers. If this idea has sparked your creativity, there are three types of do-it-yourself, homemade roman shades; all of which can be completed in a day with a little focus and perseverance. The materials necessary to make each style are quite similar across the board, so let’s go for it.
Don’t forget, if you’d like to save yourself a little time, you can always buy a new custom roman shade from Blindsgalore. We also have a large selection of mini blinds, if you’re feeling inspired.
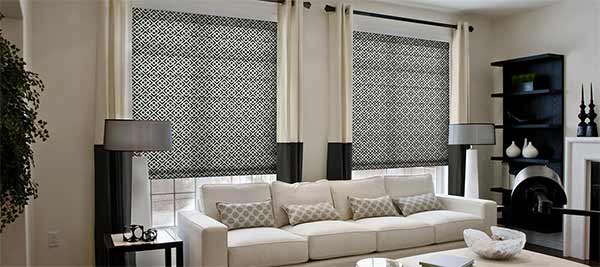
Mini-blind Roman Shade
My favorite DIY roman shade is revamping a bland mini blind into a décor wise roman shade. With a little bit of handiwork, your window is modernized.
Materials
Fabric, facing and lining
Mini-blinds (white or off-white is best)
Permanent fabric adhesive
Foam brush
Scissors
Iron
Pen or pencil
Ruler or yard stick
Pins
Sewing machine or hem tape
Steps
1. Extend the blind to its full length and cut the ladder cords.

2. Pull the caps off the bottom bar of the blinds, fish out the cords, and cut the knots.
3. Remove all but the number of vanes you need for your shade *8” is a standard measurement. Retie string on the bottom bar.
4. Measure width of blinds plus an extra inch for each side to determine fabric width. Cut fabric. Use a ruler to mark an inch vertical inseam on both sides of back of fabric. Lay liner fabric on wrong side of fabric and fold vertical edges in. Iron flat.
5. Pin fabric and hem edges on a sewing machine or fuse with hem tape (no pins needed).

6. Lay fabric face down and align blinds on top using a pencil to mark correct spacing.
7. Place headrail 2” from top edge of fabric, apply glue to headrail, smooth with foam brush, and wrap fabric around headrail.
8. Squeeze glue on blinds (avoid pull cord), smooth with foam brush, flip, and press evenly onto fabric. Work from the top down until done.

9. Apply glue to bottom bar, smooth with foam brush, and wrap fabric over it. Make sure the fabric wraps around the front, bottom, and back of the bar.
10. Allow blind to dry overnight and cut away excess fabric from back of bottom bar.

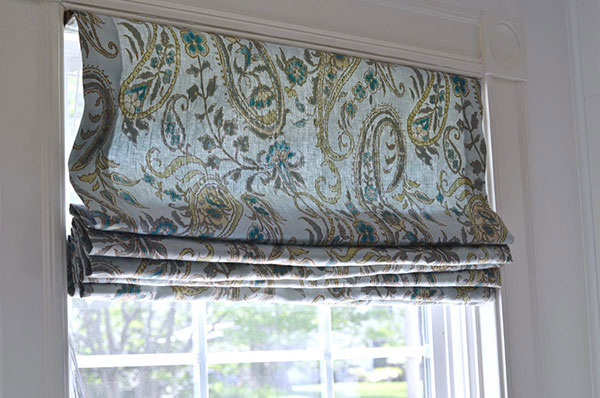
From Scratch Roman
If you like to sew and love to coordinate your fabrics with a unique personal style, a “from scratch roman” might be a design project to make a room come to life.
Materials
Fabric, facing and lining
Tube tape
Nylon cord
1 ½” Velcro
Cord drop
¼” dowels
1×2 board
Eye hooks
Slat
Staple gun, staples
Scissors
Pins
Sewing machine
Steps
1. Press facing and lining fabric. Cut fabric, adding 1” to width and 4” to length.
2. Make measurements for pleat placement and pin each for tube tape. Pin tube tape to right side of lining with bottom side of tape right above each pin. Keep tape in a straight line.

3. Baste tape onto lining. Stitch along top of tape to avoid stitching over the little loops.
4. Pin right sides of facing and lining fabric together. Stitch sides and bottom with ½” seam. Trim corners and flip right side out. Press.
5. Pin existing tube tape (that is basted to liner) down through both fabrics, ensuring smooth and flat. Ensure thread matches facing fabric. Stitch the ditch on the tube tape. Remove basting from each tube tape once stitched down.

6. Insert slat into bottom of shade. Machine sew or hand stitch.
7. Insert dowels into the pockets of tube tape.
8. Using leftover fabric, upholster board and neatly staple to give a finished look. Staple hook side of Velcro to back of board. Stitch loop side of Velcro to lining side of shade. Trim excess fabric to ½” above Velcro and attach to the board.
9. Measure and predrill holes for lift. Screw in eye hooks. Knot cord at bottom of shade and thread nylon cord through loops on tube tape, one vertical row at a time.

Thread through eye hooks. Repeat until all 10- Line up edge of board with edge of window casing. Predrill through board and casing. Screw board to casing. Thread pull cord through cord drop. Tie knot.

No-sew Roman Shade
For an unusual roman shade that requires no sewing skills, a no-sew roman shade is another crafty way to make this window treatment.
Materials
Fabric, facing and lining
5/16 wooden dowels
Extreme Craft Glue
Staple gun, staples
Eye hooks
Ruler
Pencil
5/8 wooden dowels
1×2 cut to the width of your window opening
L brackets
Hem tape
Needle, thread
Rings (brass or plastic)
Iron
Steps
1. Cut facing fabric the exact width of your window and lining fabric ¾” narrower than the width of your window. Use a ruler to mark ¼” vertical inseam on both sides of back of fabric. Lay liner fabric on wrong side of fabric and fold vertical edges in. Iron flat.
2. Iron fuse both vertical seams with hem tape. Turn fabric inside-out and iron.
3. Determine number of folds desired and measure/mark with pencil on front, wrong side of facing fabric. 8” folds are a standard size. Make sure to leave 1-2” on top of shade.

4. Measure fabric width and cut 5/16 dowels ½” shorter than that measurement.
5. Glue dowels along previously measured and marked spots to wrong side of facing fabric. Center between hems. Allow glue to dry overnight.

6. Carefully turn shade right side out.
7. Fold base of shade fabric up 1 ¾”. Iron. Add fuse tape and iron again. Slide in 5/8” dowel and hand stitch ends to secure dowel inside shade.
8. On back side of shade, sew ring directly beside the side of each dowel. Stitch once or twice around the width of the dowel to ensure tight fit.
9. Staple fabric to 1×2.

10. Attach eye hooks in the bottom of 1×2 (side, middle, side)
11. Attach L-brackets to wall then attach shade to them using 1×2
12. Loop the string through rings and eye hooks (ensuring tight knots at bottom of each row of rings) to create lift system.

Here are a few final words to guide you on your way. Both the mini-blind romans and no-sew romans are best for small windows. I recommend no larger than 36” across. The interior mechanics of the mini-blind headrail are not designed to hold the weight of additional fabric and will either result in broken string or difficult to use once the window or fabric is too great. The same concept applies to the no-sew roman. The strength of the dowel and glue will deteriorate in proportion to the size of the window or weight of the fabric. The best DIY option for an average to large scale window is the traditional method for making a roman shade. Share your story or pictures with this venture or kick back and have a margarita instead and order a custom shade just like you like it – salt or no salt – trim or no trim. At Blindsgalore, we make it just like you want it.