
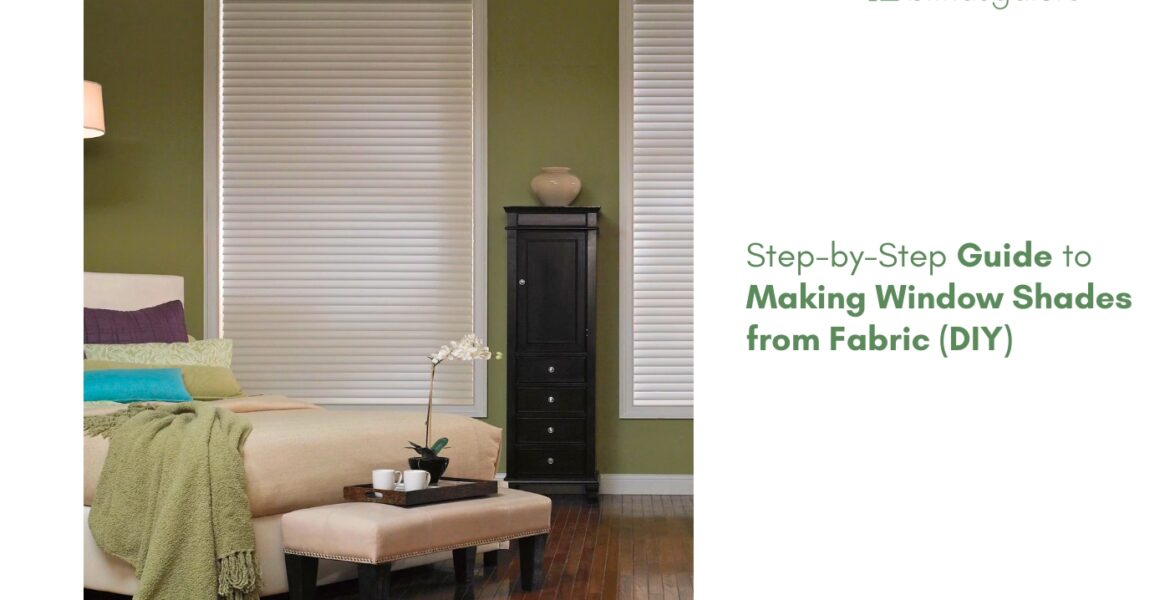
Making a window shade from fabric is a satisfying weekend project that gives you full control over the color, pattern, and style of the finished treatment.
A basic no-sew roller shade can be built with a few tools, a piece of fabric, and a tension rod or roller kit, and it works well as a temporary or decorative covering for a window that does not need precision light control or a permanent mount.
What you need
A successful fabric shade requires the right materials and a clean workspace. Gather everything before starting.
- Fabric of your choice (cotton, linen, or a medium-weight blend work best)
- A spring-loaded roller shade kit or a tension rod
- Fabric stiffener spray or iron-on interfacing (to keep the fabric from sagging)
- A tape measure, pencil, and straightedge
- Fabric scissors or a rotary cutter
- Double-sided fabric tape or a hot glue gun (for a no-sew approach)
- An iron and ironing board
- A flat work surface large enough to lay out the full fabric panel
How to make a simple roller shade from fabric
Measure the window
Measure the window opening width and height. For an inside mount, record the narrowest width and tallest height. Add two inches to the width and four inches to the height to allow for overlap, hemming, and attachment to the roller. The measuring guide covers precise measurement technique if you want the shade to fit tightly.
Prepare the fabric
Cut the fabric to the measured dimensions using a straightedge and rotary cutter for clean edges. If the fabric is lightweight, apply fabric stiffener spray or iron on a layer of interfacing to the back. Stiffening prevents the fabric from curling, sagging, or losing its shape once hung. Iron the fabric flat and smooth before proceeding.
Attach the fabric to the roller
If using a roller shade kit, peel back the adhesive strip on the roller tube and press the top edge of the fabric onto it firmly. Roll the fabric around the tube once to ensure it adheres evenly. If using a tension rod, fold the top edge of the fabric over the rod and secure it with double-sided fabric tape or a line of hot glue, creating a rod pocket.
Hem the bottom
Fold the bottom edge of the fabric up by one inch, then fold again to hide the raw edge. Secure with double-sided fabric tape, hot glue, or iron-on hem tape for a no-sew finish. A small wooden dowel or flat stick inserted into the bottom hem adds weight and helps the shade hang straight.
Hang and test
Mount the roller in the window brackets or press the tension rod into the window frame. Test the shade by raising and lowering it several times. Adjust the roller tension if the shade does not retract smoothly, or reposition the tension rod if it slips.
Where DIY shades work well
Homemade fabric shades are a good fit for small accent windows, seasonal decorative covers, craft rooms, and spaces where the shade is more about style than function. A bold patterned fabric that matches a room’s decor can add a personal touch that off-the-shelf shades do not offer. For renters who want a temporary, removable covering without drilling, a tension-rod fabric shade is simple and damage-free.
Where custom shades are the better path
For windows where precise light control, blackout, insulation, or daily durability matter, a custom window shade built to the exact window measurements is the more practical choice. Custom shades use purpose-built fabrics engineered for UV resistance, light control, and longevity that household fabrics cannot match. Cordless and motorized lifts provide operation that no DIY roller can replicate, and the fit is precise to the 1/8 inch.
The comparison is honest: a DIY shade costs less upfront and gives you creative control. A custom shade costs more but performs better, lasts longer, and fits the window exactly. For a room where the shade is used daily, custom is almost always worth the investment. For a window that needs a fun, personal, decorative touch, DIY is genuinely rewarding.
For more on what custom treatments offer across the full range of shade types, the Ultimate Guide to Window Treatments covers every category. The guide on How Long Do Custom Blinds Last shows how long custom shades hold up compared to household fabric. And for a broader look at how light-management and design work together, the Spring Fling feature shows how the right window treatment anchors a room’s design.
All Blindsgalore brand shades are 100% custom, handcrafted to order, and backed by a 3-year limited warranty upgradeable to five years. Order free samples to feel the difference between household fabric and purpose-built shade material, and call the in-house experts at (877) 702-5463 for help on any window.
Frequently asked questions
Yes. A basic roller shade can be made from cotton or linen fabric using a roller shade kit or tension rod, fabric stiffener, and no-sew adhesive tape. The project suits decorative or temporary coverings.
Medium-weight cotton, linen, or cotton-polyester blends work best. Lightweight fabrics need stiffener to prevent sagging. Heavy fabrics may not roll smoothly on a standard roller mechanism.
Homemade shades reduce light but rarely achieve true blackout. Household fabrics are not engineered for light blocking the way purpose-built shade fabrics are. For rooms that need darkness, a custom blackout shade is the better choice.
A well-made DIY shade can last one to three years depending on the fabric and sun exposure. Purpose-built custom shades with UV-resistant fabrics typically last significantly longer.
Yes, upfront. A DIY shade costs the price of fabric and a roller kit. A custom shade costs more but fits precisely, uses engineered fabric, and offers cordless or motorized operation that DIY cannot match.
Blindsgalore brand shades carry a 3-year limited warranty with a free upgrade to a 5-year warranty, covering defects in materials and workmanship when properly installed. Boutique products include a free 5-year extended warranty. Fading is not covered.