
What goes up must come down. Cleaning, replacement, or a long-overdue upgrade all eventually mean pulling the blinds off the wall, and a few minutes of know-how saves the drywall, the hardware, and your back. Here’s how to take down every common style without the hassle.
For exact instructions tied to a specific product, the owner’s guide on our installation page covers the brand-specific details that no general guide can.

Figure Out What Type of Blinds You Have
Rule number 1 is to save your muscles for the gym. Don’t just rip your blinds off the wall! Take your time.
Your first step is to identify the type of blinds you’re dealing with. Are they Wood Blinds? Faux Wood Blinds? Roman Shades? Venetian Blinds? Verticals? Each one will require a slightly different approach.

Prepare Your Tools
Gather everything before climbing the ladder. The right tool list usually includes:
- A flathead screwdriver to pry the headrail free from the mounting brackets
- A ladder or step stool to reach blinds installed on high windows
- An electric drill or Phillips head screwdriver to remove the mounting brackets from the wall
- Protective eyewear to guard against dust and debris when working below a bracket
A quick clean of the blinds before removal sounds counterintuitive, but a quick dust beats a faceful of debris when the headrail comes down. Worth the extra five minutes.

The easiest ways to take down various types of blinds
Every blind or shade has its own quirks. Most styles share one thing in common, though: a clip-and-bracket system where the headrail snaps onto a mounting bracket attached to the wall or window recess. Studying the product beforehand and adapting the technique accordingly is what separates a five-minute job from a frustrating one.
Safety first. Goggles and gloves go on before the screwdriver comes out. A secure ladder or step stool keeps both feet planted, since haphazardly tugging on a blind from the top of a wobbly ladder is a recipe for the wrong kind of memorable afternoon. Trust us.
General tips for how to remove window blinds
A few universal steps apply to almost every horizontal style:
- Remove the decorative valance from the top of the blinds, if there is one.
- Use the tilt wand or pull cord to get the slats to lay flat.
- Inspect the headrail to figure out how the blinds clip onto the brackets.
- Once the headrail is removed, unscrew the brackets from the wall or window frame.

![]()
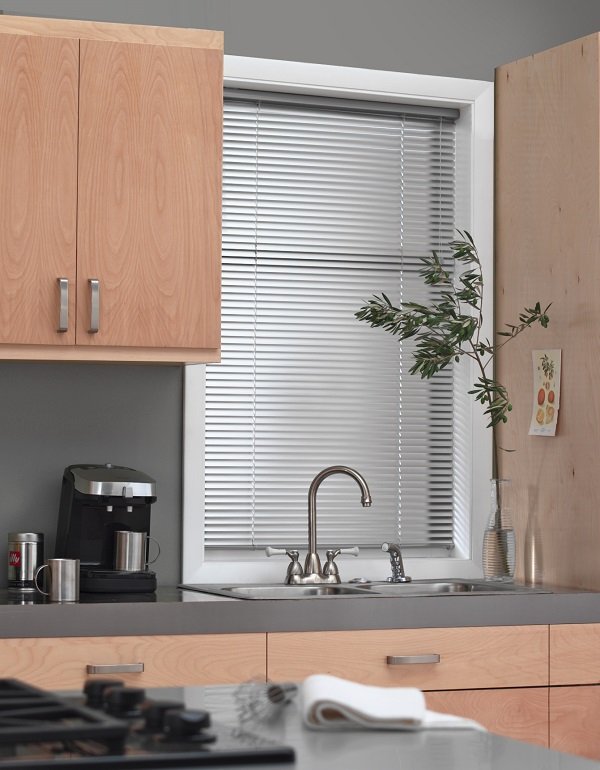
How to take down mini blinds
Not all mini blinds are built the same, but the following approach works for most:
- Bring the slats to a horizontal angle, then raise them until they’re gathered at the top.
- Use a flathead screwdriver to open the two brackets at the ends of the headrail.
- Slide the headrail out of the brackets, away from the window.
- Use a Phillips head screwdriver or drill bit to unscrew the mounting brackets.
![]()
How to remove horizontal blinds from brackets (standard and box style)
The first task here is identifying the bracket type. Older mini blinds and wood blinds usually have visible box brackets, while newer styles often hide the bracket behind the headrail.
Method 1: Standard box brackets (visible metal squares). Common on older mini blinds and wood blinds.
- Look at the square brackets on the far left and right of the headrail. A hinged door sits on the front face.
- Insert a flathead screwdriver under the lip of the door and gently pry it open. The door swings up or out.
- With both doors open, the blind is unsecured. Grip the headrail firmly and slide it straight out toward you.
Method 2: Spring-loaded brackets (invisible). If no visible clips appear, the brackets are likely spring-loaded.
- Grip the headrail with both hands near the bracket locations.
- Rotate the bottom of the headrail toward the window glass while pulling the bottom edge up. The rolling motion disengages the spring hook.
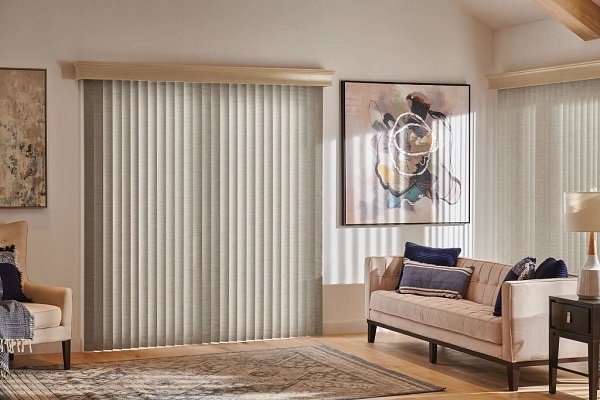
How to take down vertical blinds
Sliding door staples look trickier than they are. A few general removal tips cover most styles of vertical blinds:
- Angle the slats so the view outside is visible, then unhook each hanging vane one by one.
- Use a flathead screwdriver to unclip the headrail from the bracket. A separate screw may also need to come out to remove the clip entirely.
- Each bracket may need to be released individually. If the headrail won’t budge, gently twist the back of it away from the window.
- Use a Phillips head screwdriver or drill bit to remove the mounting brackets from the wall.
![]()
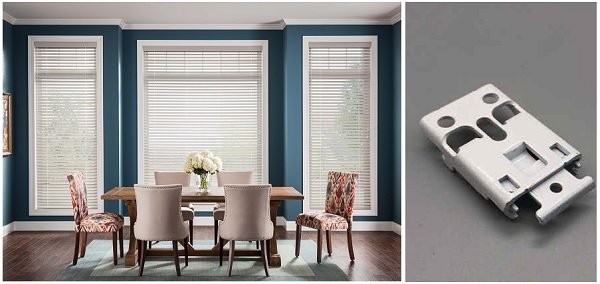
How to take down wood blinds
Wood blinds need a delicate touch. Real wood is more prone to chips and scratches than faux wood, which holds up better under a clumsy hand.
- Remove the valance from the top of the blinds, if there is one.
- Check the sides of the headrail for the brackets. Use a flathead screwdriver to pop them open, away from the window.
- Slide the headrail out of the brackets and off the window. Raising the blinds first prevents them from being too unwieldy.
- Use a Phillips head screwdriver or drill bit to remove the mounting brackets from the wall.

![]()
How to take down Venetian blinds
Venetian blinds are the original horizontal-slat blinds. Wider slats than mini blinds (usually 2 inches across), built from wood, faux wood, aluminum, or vinyl, mounted in a metal headrail. The removal process is close to the standard horizontal walkthrough above, with a few Venetian-specific notes worth knowing before you start.
Older Venetians lean heavily on visible box brackets, the kind with a hinged metal door on the front face. Pop the door with a flathead screwdriver, and the headrail slides forward. Aluminum venetians have surprisingly sharp slat edges, so a pair of work gloves is a smart five-second precaution before you start handling them. Wood and faux wood venetians carry more weight per foot than aluminum, so a second set of hands helps on anything wider than 48 inches.
Step-by-step for venetian blinds:
- Raise the slats fully so the stack gathers at the headrail.
- Remove the valance if there is one.
- Open the box brackets at each end with a flathead screwdriver.
- Slide the headrail straight out and away from the window.
- Unscrew the mounting brackets from the wall or window frame.
How to take down faux wood blinds
Faux wood is the most popular horizontal style we ship, and most faux wood blinds use either a box bracket or a hidden bracket system. The general method is the same as wood blinds, with one practical difference: faux wood is heavier than real wood, and the bottom rail packs more density than people expect.
A wide faux wood blind (60 inches or more) is a two-person job. One person supports the headrail while the other pops the brackets. The width of the step stool matters more than the height. Wobbling on a narrow ladder while holding 15 pounds of composite blind is the exact scenario the in-house team gets called about most.
Step-by-step for faux wood blinds:
- Raise the blind fully and remove the valance if one is installed.
- Inspect the headrail ends to identify box brackets or hidden spring-loaded brackets.
- For box brackets, open the hinged front door with a flathead screwdriver. For hidden brackets, push the rear release tab toward the window while tilting the front of the headrail down.
- Slide the headrail out and lower it gently. Heavy blinds drop fast, so support the weight the whole way down.
- Use a Phillips head screwdriver or drill to remove the mounting brackets.
How to remove Roman shades
Roman shades work differently from any horizontal blind. No slats, no tilt mechanism, just a continuous panel of fabric on a cord or cordless lift system mounted to a wood batten or metal headrail. The removal process is shorter, but the brackets are different enough to call out separately. Some customers also call these Roman blinds, the product is the same.
Most Roman shade installations use one of two bracket systems. The first is a top-mount installation bracket, a small L-shaped or U-shaped piece that the headrail fits into. A small tab or lever on the bracket releases the headrail when you’re ready to take it down. The second is a hook-and-lock bracket, where a back hook catches the headrail and a front lever locks it in place. To remove that one, flip the lever and lift the headrail forward and up.
Step-by-step for Roman shades:
- Lower the shade fully so the fabric hangs flat and the headrail is easier to see.
- Look along the top of the headrail for the brackets at each end.
- Press the small release tab or flip the locking lever forward.
- Lift the headrail up and toward you to clear the bracket hook.
- Set the shade flat on a clean surface (folded fabric stays nicer than fabric piled in a heap).
- Unscrew the brackets from the window frame or wall.
A quick reminder before the shade goes in storage or in the trash: Roman shades cannot be cut to size or shortened at home. The fabric, lift cords, and rings are stitched together into one assembly. If the shade no longer fits the window, replacement is the only option.
How to take down blinds with hidden brackets
Hidden brackets feel tricky until the mechanism makes sense. Generally, the bracket is concealed behind the headrail, and the clip-and-bracket system is combined into a single spring-loaded mechanism.
- Inspect the sides and back of the headrail to locate the brackets.
- Use a flathead screwdriver to push on the spring-loaded clips and release them.
- While pushing on the spring, gently pull the headrail away from the wall. Working one bracket at a time is usually easier than trying to do both at once.
- Remove the brackets from the window frame using a Phillips head screwdriver or drill bit.
![]()
Specific brand guide: how to take down Levolor blinds with hidden brackets
A common frustration for homeowners is figuring out how to take down Levolor blinds with hidden brackets. Unlike standard clips, Levolor often uses a snap-in concealed system that requires a specific motion to release tension.
The push-and-tilt method works on most Levolor hidden-bracket designs:
- Raise the blind completely to the top so the slats are gathered in the headrail.
- Feel along the top rear of the headrail (between the blind and the window glass) for a metal or plastic tab protruding slightly. That’s the release.
- Place your thumbs on the bottom front of the headrail and your fingers on the rear release tab.
- Push the headrail up toward the ceiling while simultaneously tilting the top of the headrail away from the window and toward you.
- Listen for a snap as the tension releases, then lower the front of the blind gently to remove it.
How to remove blinds from a window without damaging the wall
The bracket comes off easily. The drywall is the part most homeowners worry about. A few small habits prevent the patch-and-paint job that nobody plans for.
If the brackets were installed years ago and painted over, the dried paint creates a seal between the bracket and the wall. Run a sharp utility knife around the edge of the bracket before unscrewing anything. Skipping this step pulls a quarter-sized chunk of paint off with the bracket every time.
Speed is the other common mistake. A drill on full power strips the screw head and the drywall anchor at the same time, which turns a five-minute job into a trip to the hardware store. A slow, steady reverse with a Phillips head screwdriver is gentler on the wall and on the screws themselves.
The drywall anchors are worth saving if the new blinds use the same hardware. Pull them straight out with needle-nose pliers, never at an angle, and they come out clean. If the new blinds need different hardware, fill the old anchor holes with spackle, sand them smooth, and touch up with matching paint.
One last small thing before patching anything: hold the new bracket up to the old screw holes first. New blinds sometimes line up almost exactly with the existing spacing, which saves a fresh round of drilling and a fresh round of patching.
Troubleshooting: What if the blind is stuck?
Sometimes the standard removal steps don’t work because the hardware is seized. Two common culprits, and the fixes that actually solve them.
The first is paint lock. If the brackets were painted over during a recent room refresh, the dried paint creates a seal that won’t let the bracket door open. A utility knife scored carefully around the edges of the bracket door breaks the seal and frees the hinge.
The second is stiff springs. Older hidden-bracket designs can seize up after years of pressure, and the standard push-back motion stops working. Wrapping a flathead screwdriver in a thin cloth (to protect the metal finish) and inserting it between the headrail and the bracket clip lets you gently pry the tension loose without scratching anything.
Finding the Best Replacement Blinds
The right replacement comes down to material, style, and how the blind needs to function in the room. A bedroom that needs total darkness has different requirements than a sunny living room that just needs glare control. Our team is happy to walk through the options with you on the phone, no pressure to buy at the end.
A blind that’s been on the wall for ten years is almost always due for an upgrade, and the gap between yesterday’s mini blind and a modern cordless or motorized set is bigger than most people expect. Cordless lift is the safer standard for any room with kids or pets, and motorized options handle high or hard-to-reach windows that nobody enjoys operating manually.
If a measurement check is the next stop, the step-by-step measuring guide walks through every window type. Free samples are available too, up to 15 per customer, and they typically arrive in 2 to 10 business days. Talk to a real human at (877) 702-5463 for help picking the right replacement.

![]()

Removing Blinds and Replacing Blinds FAQs
Do all blinds use the same removal process?
Unfortunately, no. Removal techniques vary across blind types, and the right approach depends on the bracket system more than the brand. The product’s installation manual is always the most accurate source for a specific set.
Can I reuse the same brackets when installing new blinds?
Yes, but only if the new blinds are the same product. Switching brands or product types almost always means switching hardware too. Updating to the brackets included with the new product is the cleanest path.
Is it possible to remove blinds without professional help?
Absolutely. About 99% of our customers handle their own measure, installation, and removal. With the right tools on hand, the whole process should take no longer than 10 minutes. Call us at (877) 702-5463 if any questions or roadblocks come up along the way.
How do I remove blinds from a window if I can’t find the brackets?
Run a hand along the top and back of the headrail. Hidden brackets sit behind the headrail and use a spring-loaded clip released by pushing the rear tab toward the window while tilting the front of the headrail away. If nothing releases, the brackets may be box-style on the side ends.
How do you take down faux wood blinds with hidden brackets?
Raise the blind fully, locate the release tab at the back of the headrail, then push the tab toward the window while tilting the front of the headrail down and away from the wall. The headrail releases with an audible click.
Can Roman shades be reinstalled after removal?
Yes. As long as the headrail and brackets are intact, Roman shades can be reinstalled in under a minute by reversing the removal steps. Hook the headrail into the brackets and snap the lever or tab back into the locked position.
Do Venetian blinds and faux wood blinds use the same brackets?
Often, yes. Both styles commonly use box brackets or hidden spring-loaded brackets, and the removal motion is the same. Real wood venetians tend to be heavier than aluminum versions, so the support technique matters more.
Removing blinds is rarely the part of the day anyone looks forward to, but a careful five minutes at the headrail beats an hour of patching drywall later. With the right tools, a steady hand, and the installation instructions running in reverse, the wall comes back clean, and the next set goes up easily.