
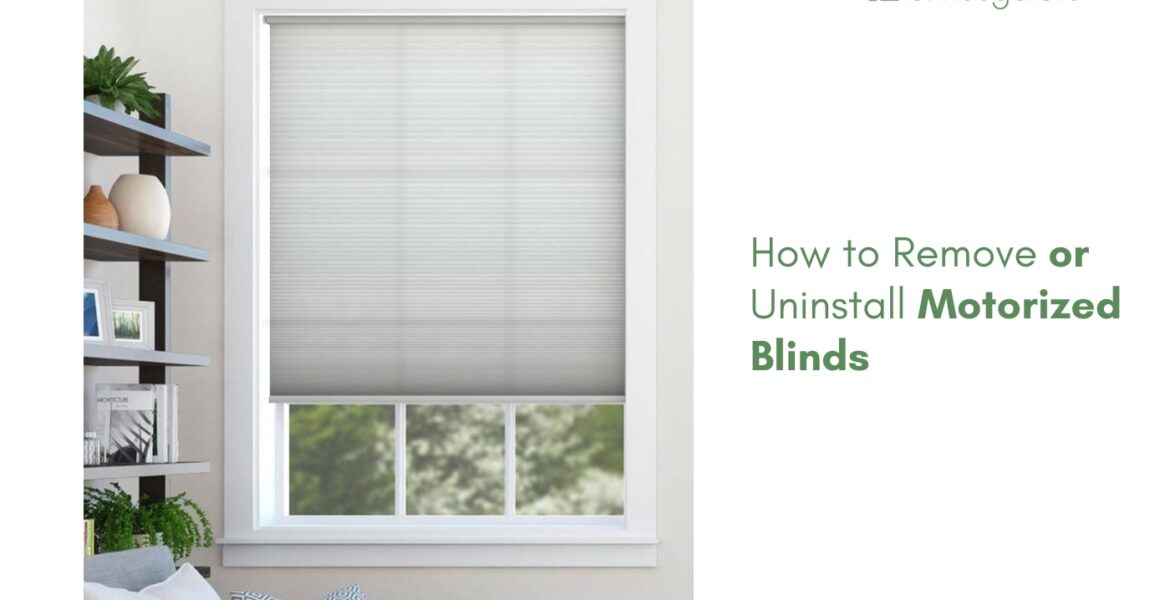
Removing motorized blinds is more involved than taking down a manual shade, but most battery-powered models can be uninstalled by a confident homeowner in about 15 minutes per window.
The process depends on the power source: battery-powered motorized blinds simply disconnect from their brackets, while hardwired models involve electrical components that may require a professional. Knowing which type you have determines whether this is a quick DIY project or a job for an electrician.
Always check the product manual for specific removal instructions before uninstalling motorized blinds. Removal steps can vary by make and model. Installation manuals can be found here: https://www.blindsgalore.com/installing
What type of motorized blind do you have?
Before touching any hardware, identify the power source. The two most common types are battery-powered and hardwired.
Battery-powered motorized blinds use a rechargeable or replaceable battery pack housed inside or behind the headrail. No wiring connects the blind to the home’s electrical system. Removing these is straightforward and safe for any homeowner.
Hardwired motorized blinds are connected directly to the home’s electrical wiring, usually through a junction box behind the mounting bracket. Removing these involves disconnecting live wires, which requires turning off the circuit breaker first and ideally the help of a licensed electrician.
A simple way to tell the difference:
- Battery-powered: has a charging port, battery compartment, or runs on a battery wand
- Hardwired: no visible battery, and the blind receives power the moment it is installed without any battery setup. For reference on how different motorization types work, the install and care guides cover operation and mounting details for each product.
How to remove battery-powered motorized blinds
Battery-powered models are the most common motorized blinds sold for residential use, and removing them is a manageable DIY job.
What you need
- A flathead screwdriver or a Phillips screwdriver (depending on the bracket type)
- A step stool or ladder for high windows
- A second person to help hold wider or heavier shades
Steps
- Lower the shade fully so the fabric or slats are extended, and the roller or headrail is accessible.
- Disconnect the battery if there is a removable battery pack or charging cable. Removing the power source first prevents the motor from activating during removal.
- Locate the mounting brackets at each end of the headrail. Most motorized blinds use snap-in or spring-loaded brackets that release by pressing a tab, rotating a lever, or pushing the headrail upward and tilting it outward.
- Press the release tab on one bracket while supporting the headrail with your other hand. Release the second bracket and carefully lower the headrail.
- Remove the mounting brackets from the wall or window frame by unscrewing the bracket screws.
- Fill any screw holes with spackling compound if you are not installing a replacement treatment in the same location.
For wider shades or heavier roller assemblies, have a second person hold the shade while you release the brackets. The motor adds weight to the headrail, and dropping a motorized shade can damage the motor mechanism. The guide on How to Schedule Your Motorized Blinds covers how the scheduling features work if you are moving the shade to a different window rather than discarding it.
How to remove hardwired motorized blinds
Hardwired removal involves electrical work, and safety is non-negotiable.
Safety first
Turn off the circuit breaker that supplies power to the motorized blind before touching any wiring. Confirm the power is off by testing with a non-contact voltage tester at the junction box. Do not proceed until the tester confirms no live current.
Steps
- With the power off, lower the shade fully.
- Remove the headrail from the brackets following the same bracket-release process as battery-powered models.
- Disconnect the electrical wiring at the junction box, noting the wire connections (take a photo before disconnecting for reference).
- Cap the exposed wire ends with wire nuts and secure them inside the junction box with a cover plate.
- Remove the brackets and fill the screw holes.
If you are not comfortable working with electrical wiring, hiring a licensed electrician for the disconnection step is the right call. The cost is modest, and the safety margin is worth it.
What to do after removal
Once the motorized blind is down, the window is ready for a replacement treatment or can be left uncovered. If the existing brackets are in good condition and the replacement treatment uses a similar mounting system, the same screw holes may work for the new install, which saves time.
For an upgrade to newer motorized options with current smart-home integration, the motorized collection covers battery, rechargeable, and smart-hub-compatible models with Alexa, Google Home, and Siri Shortcuts integration. The guide on Motorized Shades and Blinds covers the full motorization landscape, and the Ultimate Guide to Window Treatments helps if you are considering switching to a different treatment type entirely. For how long motorized treatments last before replacement, the guide on How Long Do Custom Blinds Last covers lifespan across materials and motor types.
All Blindsgalore brand treatments are custom-built to order and backed by a 3-year limited warranty upgradeable to five years. Order free samples to see the next treatment before committing, and call the in-house experts at (877) 702-5463 for help choosing a replacement.
Love your view.
Frequently asked questions
Yes, for battery-powered models. Most battery-powered motorized blinds can be removed by a homeowner in about 15 minutes per window. Hardwired models involve electrical work and may require a licensed electrician.
Battery-powered models have a visible charging port, battery compartment, or battery wand. Hardwired models have no visible battery and are connected directly to the home’s electrical wiring through a junction box.
For hardwired models, absolutely. Turn off the circuit breaker and confirm the power is off with a voltage tester before touching any wiring. Battery-powered models do not require cutting power, but removing the battery first is a good safety practice.
Yes, if the shade fits the new window. Measure the new window to confirm the shade dimensions are compatible before reinstalling. Brackets may need to be repositioned to match the new opening.
Fill the screw holes with spackling compound, let it dry, and sand smooth. If installing a replacement treatment in the same location, the existing holes may be reusable if they align with the new brackets.
Blindsgalore brand motorized treatments carry a 3-year limited warranty with a free upgrade to a 5-year warranty, covering defects in materials and workmanship when properly installed. Boutique products include a free 5-year extended warranty. Fading is not covered.